mgTools Maya
Documentation: mgTools Installation - Unreal Tools
This page will teach you how to use the Maya portion of mgTools. The main idea is that objects are tagged based on what they are, and how they are meant to be handled during export. Then you can export the contents of your Maya files to Unreal Engine.
For folder structure, I recommend creating a Maya Projects (File/Set Project)
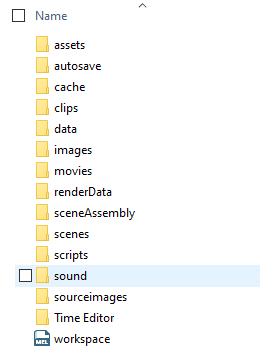
This will create a folder structure like what you see above. You don’t have to create this, but the tools look for an assets folder and scenes folder to determine where your models, rigs (assets) go and where your shot files (scenes) where the assets are references in and you animate live. Under the assets and scenes folder, the tools expect another set of folders.
The only folder structure we really need is the assets and scenes folders as seen above.
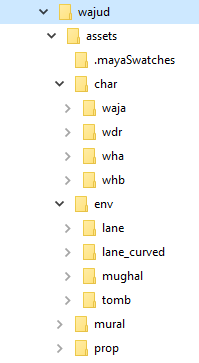
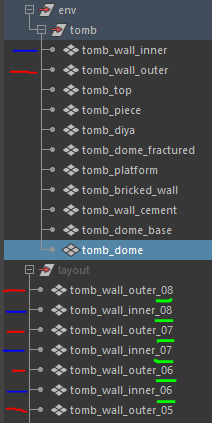
Assets folder has subfolders which are sub categories like char (character), env (environment), prop (props) etc. Under these you have assets like character, prop or environment named folders that contain your maya files.
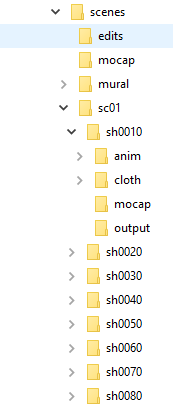
Scenes folder has subfolders like sc01 (scene 1), with shot folders underneath like sh0010 (shot 10). These can be named as you wish, but this will determine how things are organized in Unreal Engine as well.
The best way to use all of this is to export your assets from Maya, then import them into Unreal Engine. When you later import shot data in Unreal Engine, the tools will look for the asset that goes with your shot animation in Unreal engine and apply animation to that.
Tagging

Tagging is generally done in your asset file. This is the file that you will eventually reference into animation or shot files.
Select the objects you wish to tag then click the appropriate tag button.
skeletal meshes
The tool can figure out if something is a skeletal mesh if the selected object is the top joint of a joint chain.
These are non Metahuman objects that have a skeleton and skinned objects. When it exports, it will export all objects skinned to the joints as well as as the skeleton.
static meshes
Non skinned mesh objects will be tagged as static mesh when you click the tag button with objects selected.
The A tag button tags objects as alembic. This is good for deforming meshes, like cloth simulation etc that will be exported as alembic.
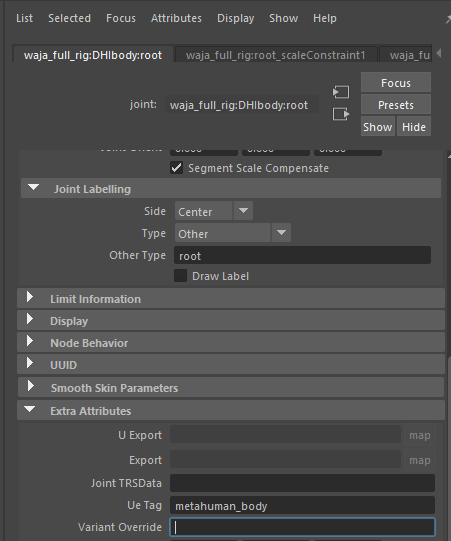
The M tag button tags the appropriate parts of a Metahuman for export.
Tags on Metahumans have an additional field for Variant Override which can be done in the shot. This way you can animate one character, but type in the name of the blueprint file in Unreal Engine if you want to use a specific one for the character in Unreal. This is perfect for animating one character, but having any other metahuman used in its place in Unreal Engine. So, I can have variants with different Blueprint files with different clothes, etc and specify that here.
The tag remove button allows you to remove UE tags from the selected objects.
Layouts
You can export entire layouts from Maya to Unreal Engine. If you set up things right, each unique part will be exported once as a static object and instanced in Unreal Engine to create efficient layouts that match what you have created in Maya.
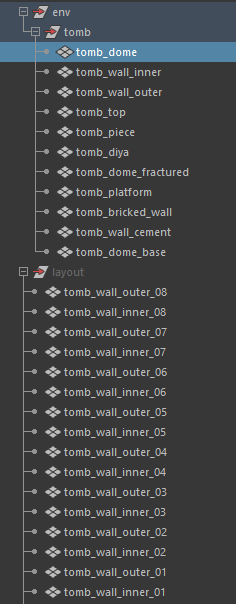
You’ll notice that the layout file for an environment is setup with the sub category group (env), then the name of the environment (tomb) just like the folders. Under that we have models with zeroed out transforms at the origin with pivots at the origin so that they will import correctly into Unreal Engine.
These meshes can be selected and tagged with the tag tool. They will be treated as static meshes.

Use the pivot tool to prepare models for use in layouts. Select objects, then click the pivot button. Object transforms will be zeroed out and the objects pivot will be placed at the origin.
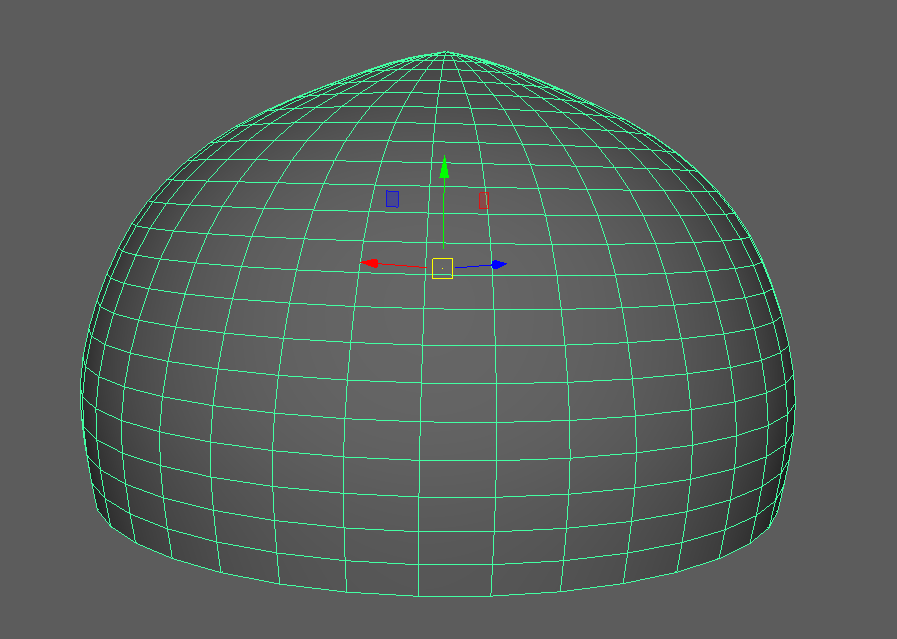
Before Pivot Tool:
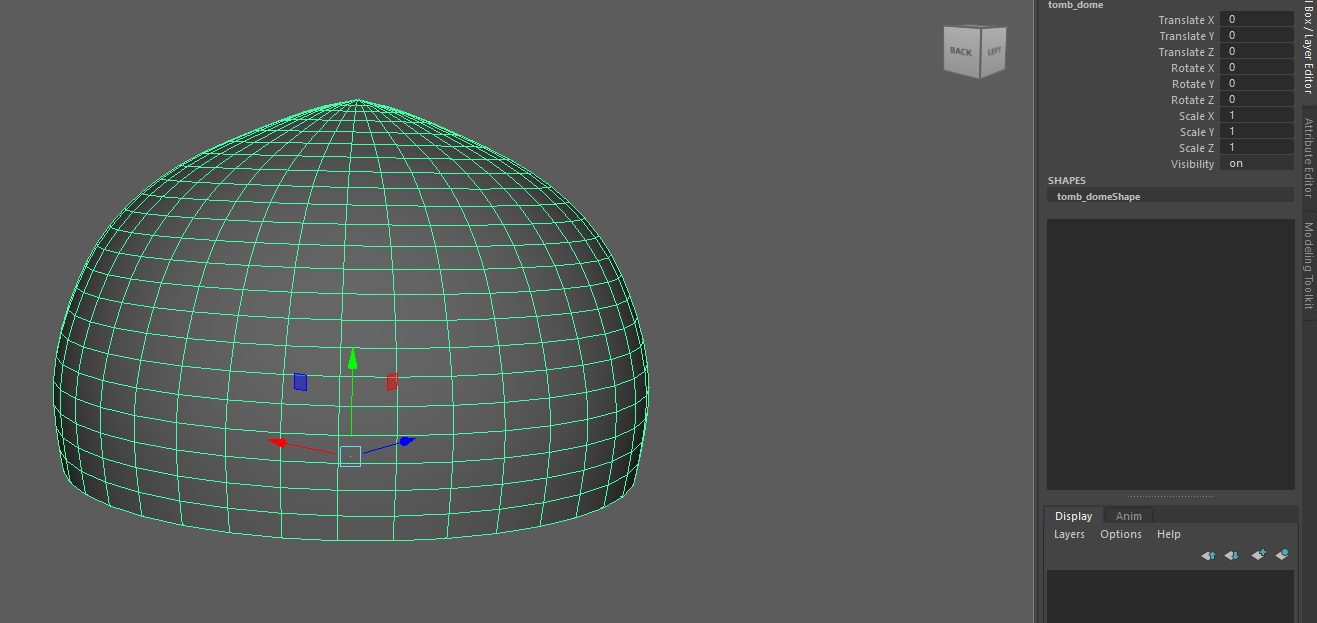
After Pivot Tool
Assets for layout should be a pile of models at the origin, zeroed out manually or with the tools, with pivots at the origin.
The layout itself is created by duplicating the asset meshes and transforming them into place. These layout objects should have the same name as the source object they come from, with an underscore and number or letters ‘ _<number or letters>’ at the end of the name. This will let the tools find the correct source object for each object in your layout and name objects the same way in Unreal Engine. You can use the untag tool (tag with red circle and line through it) to untag layout objects so that they do not get exported with your asset file.

The Layout button allows you to export a JSON file with all the transform and object name information for selected objects in your scene. This can be done from an asset file or from a shot file for static meshes that have corrected pivots and corresponding exported static mesh source objects.
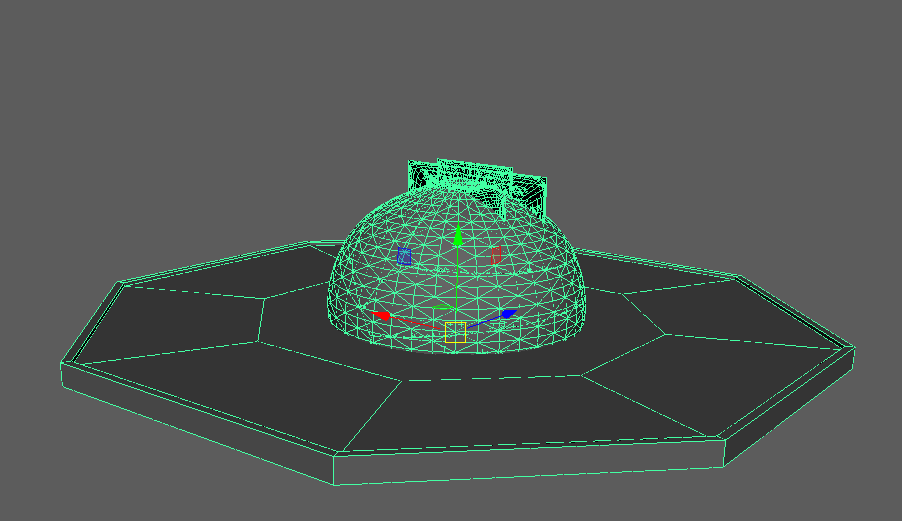
In this example, my layout objects are actually lower res than the source object. This is fine, as the shape and pivot matches. So I can have a lighted file to reference into my animation files in Maya and a higher poly object that can be used in Unreal Engine.

Hair Export
Exports XGen Hair for user in Unreal Engine. Select the XGen hair you wish to export. If it is Legacy XGen hair, it will convert it to Interactive Groom and export, otherwise it will just export the existing Interactive Groom hair.
Additional Tools


The Skeleton Definition export tool allows you to export a skeleton definition. Don’t know what a skeletal definition in Unreal Engine is? Then skip it and you will be fine. This is useful for when you want to use the same skeleton for multiple models, like a character rig. Name it in the field, it could be your company’s custom humanoid rig (company_name_biped). Export it once, bring it into Unreal Engine and it will live under a skel folder. A json file with the joint names gets saved to the mgtools scripts folder in Maya. This helps Maya figure out if any other skeleton you export matches it and if it does, the Unreal import script will look for that skeleton when importing that asset to UE and assign it.
MTL adds a material with the name M_<object name> to the selected objects. This can be useful for when you want to create corresponding materials in Unreal Engine for objects.
The green check icon tries to check your current scene and advise on tagging or other setup issues related to mgTools. Results will go to your script editor in Maya.
Animation Export
Once your objects are tagged and Maya files are referenced into shot files, animate and then export animation.

Single click the UE Export button to export selected objects. The tool will find selected objects with tags and export animation from the animation file.
Double click the UE Export button to export all tagged objects in the scene.

XForm Export Button is a very efficient way to export animation data that is a non skinned mesh. I use this for props in character’s hands or other static meshes that I have animated. They can be constrained to other objects but not skinned. This will export animation which can be applied to the corresponding asset in Unreal Engine as Level Sequencer animation. As long as your pivots are setup correctly and models exist as static meshes in Unreal Engine, you can use this efficient export method instead of alembic or skeletal meshes for non deforming objects.
Documentation: mgTools Installation - Unreal Tools